

How to Build a "Perfect" Schedule (That Actually Works)
The difference between plans that look good on paper and plans that actually work comes down to one thing: visibility. Master this and watch everything else click.

Today’s Overview:
Most construction schedules fail not because of poor prediction, but because of poor visibility—teams can’t see what’s happening or what needs to happen next.
Traditional scheduling approaches overwhelm project managers by trying to tackle entire projects at once, leading to missed sequences, scattered trades, and constant firefighting.
Master the systematic “Perfect Schedule” method: establish duration first, use the page-by-page approach, ensure trade flow, and create crystal-clear visibility for all stakeholders.
🏗️ Hoylu: Complex projects simplified.
Construction projects live and die by their schedules. The critical path method (CPM) or master schedule, often built in tools like Primavera P6 or Microsoft Project, serves as the backbone of project planning. It is the contractual reference point, the central hub for tracking progress toward key milestones, and the framework that keeps owners, contractors, and stakeholders aligned at a strategic level.
But while the master schedule sets the roadmap, day-to-day work in the field often follows a very different path. Superintendents, trade foremen, and their teams frequently rely on sticky notes, Excel trackers, or Last Planner System® boards to manage short-term tasks. These tools are more accessible for field teams but rarely connect directly back to the master schedule. The result is a growing gap between planning and execution—where updates are slow, communication breaks down, and parallel plans emerge.
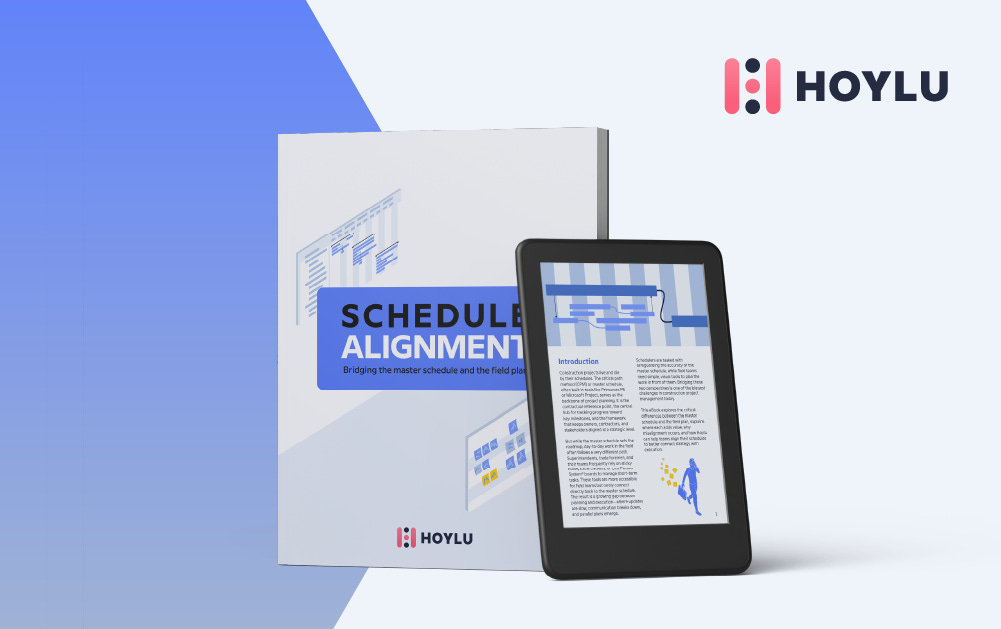
This eBook explores the critical differences between the master schedule and the field plan, explains where each adds value, why misalignment occurs, and how Hoylu can help teams align their schedules to better connect strategy with execution.
📆 How to Build a “Perfect” Schedule
Filed under: Construction, Project Management
“Creating a construction schedule is like eating an elephant one bite at a time.”
The “perfect” construction schedule isn’t about perfect prediction—it’s about perfect visibility.
I learned this the hard way on a $25M Radiology Department Expansion project. Despite months of detailed planning in Primavera, with every activity mapped and logic-tied, the project derailed in week four.
Why? While I had created a technically accurate schedule, nobody could actually see what was supposed to happen. Trades were scattered across nine different areas simultaneously. Materials showed up to the wrong locations. The critical path was buried in a 1,800-line schedule that only I understood.
My superintendent pulled me aside after another chaotic morning huddle. “Kyle, I’ve got electricians asking where to work, the plumber is waiting on the electrician who’s waiting on drywall, and three different trades are trying to use the same lift. This schedule might be perfect on paper, but it’s useless in the field.”
That failure taught me the difference between a schedule that looks impressive in software and a field plan that actually drives project success.
A perfect schedule creates perfect visibility—when everyone can see the plan clearly, collaboration happens naturally, problems surface early, and execution flows smoothly.
Today I’ll show you the systematic approach that transforms chaotic project coordination into predictable, executable plans.
The Elephant Analogy
You can’t schedule an entire construction project at once—it’s too overwhelming and guarantees something gets missed.
I once watched a project manager try to build a master schedule for a new medical office building by opening Microsoft Project and immediately diving into activities. Three hours later, he had 47 incomplete task lines and no idea what came first. He was trying to swallow the elephant whole.
You need a systematic approach that breaks complex builds into manageable components while ensuring proper sequencing and flow. Think of it as eating an elephant one bite at a time.
The key is separating concerns: sequence first, then connections. Focus on understanding what needs to be built before worrying about how everything integrates.
This prevents the mental overload that causes most schedulers to either oversimplify (missing critical work) or get paralyzed by complexity (endless analysis, no execution). A solution that enables quick transitions between a basic, analog-style sequence and logic-tied plan helps you strike the right balance.
Step 1: Always Start with the End in Mind
Establish your overall project duration FIRST.
Your start and end dates must be correct from day one. This isn’t just about planning—it’s about budget control and project feasibility.
Here’s why this matters: If you get duration wrong, designers keep adding features throughout the design phase that later require expensive value engineering. I’ve seen $12M projects balloon to $18M because the architect assumed they had 18 months when the owner needed substantial completion in 12.
Foundation dates become the foundation for disaster.
Break your project into phases that can be “takted out”
Each phase must allow trades to flow from area to area seamlessly
Your critical path should show this flow clearly
Consider the bigger picture: Pre-Construction & Design → Construction Period → Maintenance Period. Your construction schedule sits in the middle but affects everything before and after. Schedule decisions impact long-term maintenance and operational efficiency. Because these decisions are so important, prioritize a tool that facilitates flexible replanning, including the ability to simulate different task sequences until you find the optimal solution.
Step 2: The “Page Turn” Method
Stop trying to schedule entire projects at once.
Here’s the systematic approach that prevents overwhelm:
Phase 1: Study the Drawings
Overview first: Get a high-level understanding of the entire project. Develop your general concept of what’s being built.
Then go deep: Study each drawing page individually. Most schedulers go wrong here. They try to keep the whole project in their head while planning.
Phase 2: Create Page-by-Page Sequences
For each drawing page:
Study every building component shown
Read all notes carefully
Understand exactly what’s being built on that specific page
Create sequences for that single page only
Don’t worry about integration yet
Keep sequences completely independent at this stage
I learned this method from a 22-year veteran superintendent. He’d spread all the drawings across a conference table and work through them one at a time with a yellow highlighter and notebook. “Kyle,” he’d say, “you can’t build what you don’t understand. And you can’t understand it all at once.”
This approach ensures nothing gets missed and prevents mental overload.
Phase 3: Logic Integration
Now connect the sequences:
Take your independent page sequences and create logic ties
Develop coordinated phases from individual sequences
Establish dependencies—how completion of one phase triggers the start of another
Build your complete start-to-finish schedule
The beauty of this method: You’ve already done the hard work of understanding what needs to be built. Now you’re just connecting the pieces.
Step 3: The Critical Three Verification
Before executing any schedule, verify these three non-negotiables:
1. Material Procurement
Materials available on scheduled dates with proper specifications
Supply chain buffers built in for potential delays
Delivery logistics planned and coordinated
2. Contracts (Buy Out)
Trade partner contracts in place with clear scope definition
Pricing and terms agreed upon
Resource availability confirmed
3. Permissions and Coordination
Work area coordination completed
City permits obtained
Authority Having Jurisdiction approvals
All regulatory clearances in place
Missing any of these three derails your best-laid plans. Beautiful schedules fail when materials don’t show up, trades aren’t contracted, or permits aren’t approved.
I once had an $18M surgery center renovation come to a complete stop because we had scheduled MEP rough-in before receiving plan approval on the latest amended construction document. The schedule was perfect, except for that one critical dependency. We lost three weeks and thousands in out of sequence costs.
Step 4: Ensure Proper Trade Flow
Critical mistake to avoid: Having trades scattered across multiple areas simultaneously.
Picture this: Monday morning, the electrician shows up to rough-in Area A but finds the framer still working. He moves to Area B, but the plumber is already there. He ends up in Area C, where the materials aren’t staged yet. By lunch, he’s accomplished half of what he planned, and he’s frustrated.
The solution: Trades must flow area → area → area → area in sequence.
Think assembly line efficiency applied to construction. One trade completes their work in Area A, then moves to Area B, while the next trade begins in Area A.
This prevents:
Overburdening trade partners
Resource conflicts and inefficiencies
Quality problems from rushed coordination
Safety issues from congested work areas
Implementation tip: Your critical path should clearly show this trade flow throughout the project phases. It should also be shown in a more visually digestible field plan that the trades have access to.
Step 5: Make It Visible and Collaborative
The most underused scheduling tool: Trade partner input.
You are the planner and coordinator. Trades are the builders—they’re closest to field conditions and actual installation challenges.
During one project kickoff, our electrical contractor stopped me mid-presentation. “Kyle, your schedule shows we can rough-in the surgery suite in three days. But with the infection control requirements and phased access, that’s really a five-day job.” He was right.
His input saved us from a two-day slip that would have cascaded through the entire project.
Make your schedule collaborative:
Master schedules must include trade input
Look-ahead schedules require trade collaboration
Weekly work plans need trade partner involvement
Use visual management tools:
Takt Planning boards that put everything on one visible page
Last Planner System visuals for trade coordination
Scrum-style project boards for progress tracking
When teams can see progress and blockers clearly, they solve problems faster than traditional reporting methods allow. And if you use a digital solution for plan collaboration and visualization, your team can access it from anywhere and is more likely to consistently engage with the plan.
Don’t Start with Software
Wrong approach: Opening scheduling software and immediately typing/clicking.
Right approach: Study drawings completely first, establish proper basis, then use tools.
Software is for organizing your thinking, not replacing it. Preparation beats precipitation every time.
I’ve watched countless project leaders spend hours building elaborate schedules in Primavera that looked impressive but missed fundamental sequencing issues. They were so focused on the tool that they forgot to understand the work. And when the reality on site inevitably diverges from the master schedule, you need an efficient way to reconcile the two that eats up the least amount of your scheduler’s and superintendent’s time possible.
The best schedules come from understanding the work, not from mastering the software.
The Result: Perfect Visibility
What makes a schedule “perfect”:
Everyone can see the plan clearly
Trades understand their sequence and handoffs
Materials and resources are visible and confirmed
Problems surface early when they’re still manageable
Execution flows smoothly from phase to phase
Stop chasing schedules that predict everything perfectly. Instead, build schedules that provide perfect visibility into what’s happening now and what needs to happen next.
Adaptable schedules with clear visibility outperform rigid schedules every time.
Six months after implementing this approach on that hospital renovation, our client’s facilities director called with their next project. “Kyle, we want the same team that did this project. That was the smoothest project we’ve ever had.”
The difference wasn’t perfect prediction. It was perfect visibility.
This systematic approach ensures your construction schedule isn’t just a document. It’s a functional tool that guides successful project execution from start to finish.
When you can see clearly, you can lead confidently.
Until next week,
Kyle Nitchen

Whenever you’re ready, here are 5 ways I can help you elevate:
Join my free community. Connect with thousands of construction professionals in the premier community for project management excellence. Get monthly live sessions, AI prompts, and battle-tested frameworks. No cost. Real results.
Install ProjectOS. My complete AI-powered operating system for project leaders. Done-for-you Notion template with AI Agent, Master Prompt Method, and integrated workflows that save 10+ hours weekly. (Our most popular product).
Read my Book. No Bullsh*t Project: A Project Manager’s guide to successful project leadership.
Join Antifragile Project Management. My flagship coaching program combining the 7 Archetype Framework, AI mastery, and proven leadership systems. Small cohorts, personalized attention. Book a discovery call to learn more.
Promote Your Business. Get your brand in front of 8,200+ highly engaged construction leaders and decision-makers with a 51% open rate.